Add solar to your boat
7 easy steps in pictures
You’ve got this
We’ve got your back
You’ve seen how great our sleek stainless steel hardware works for mounting solar panels dodgers and biminis.
You know you can buy all the hardware you need right here.
You may even have seen our how-to article in Marine Fabricator magazine.
But you wonder: Is it really that simple? Sure is.
There a many ways to mount solar panels on your boat, but it doesn’t have to be complicated.
The basics
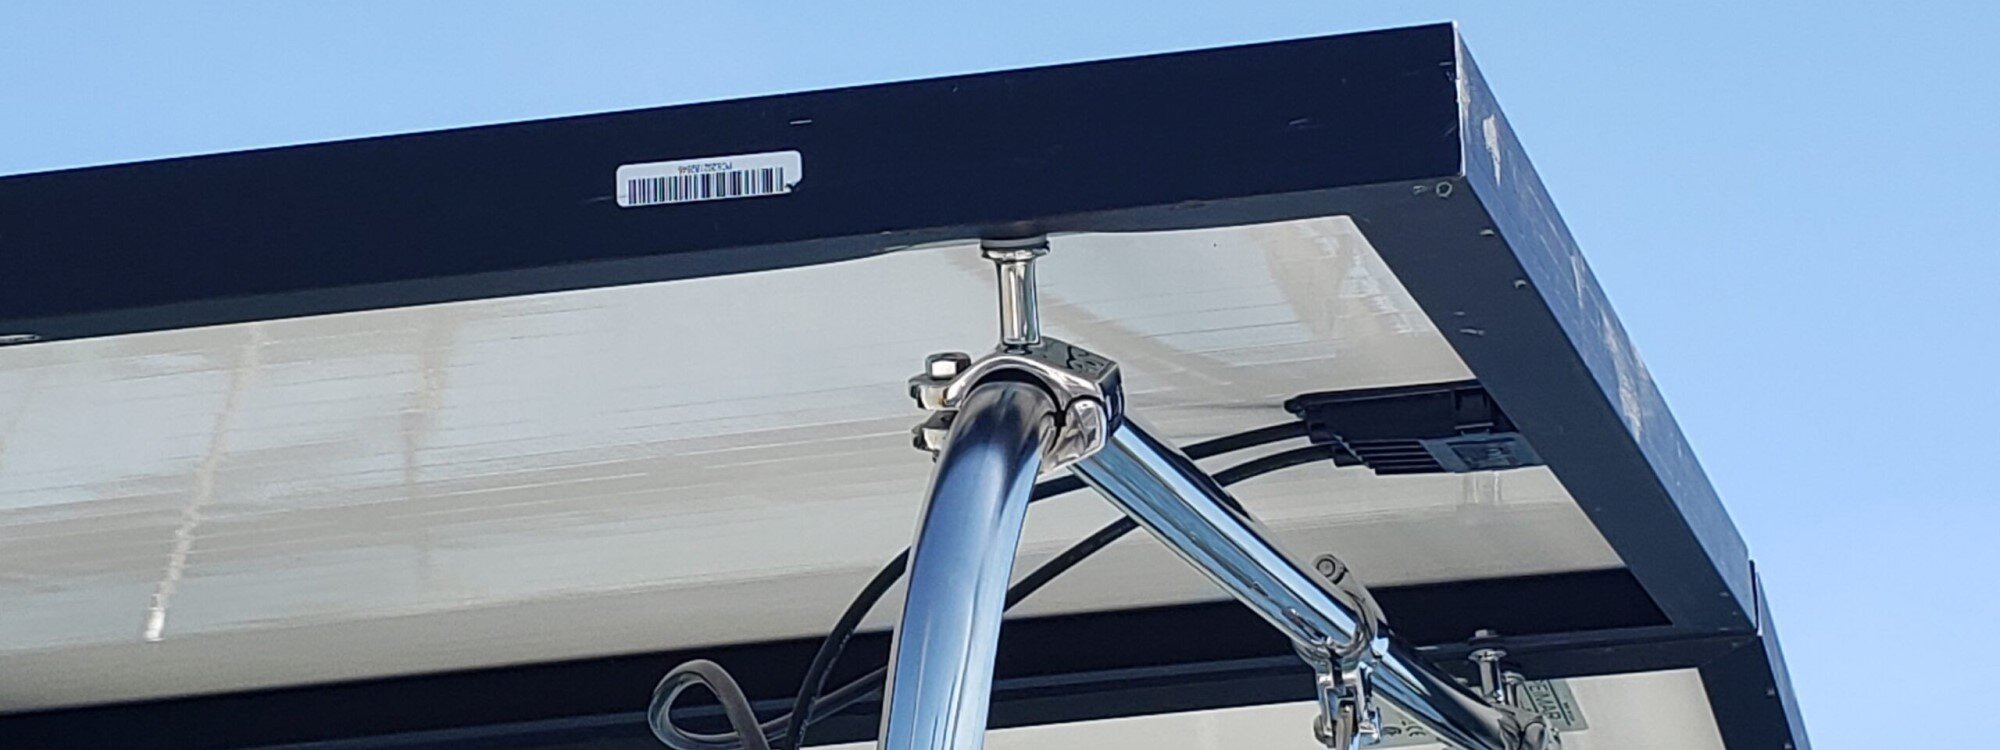
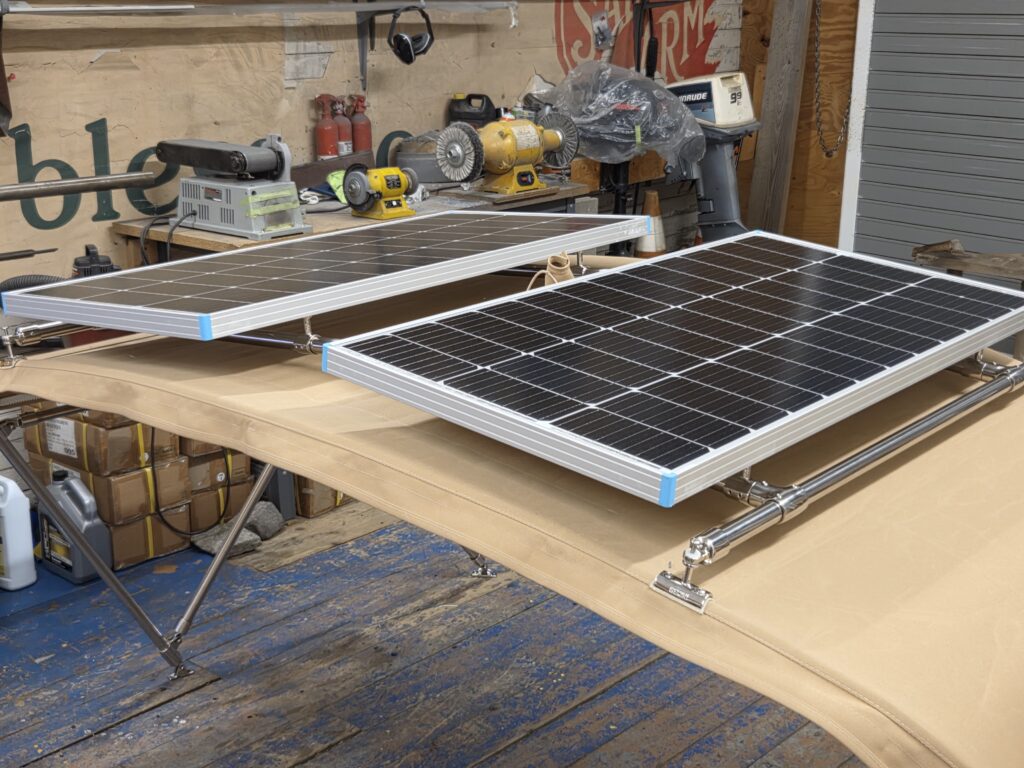
Gemini Marine Products build a frame over existing canvas to hold solar panels. Parts required to do this include:
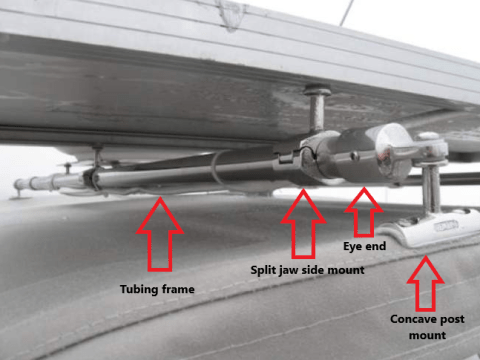
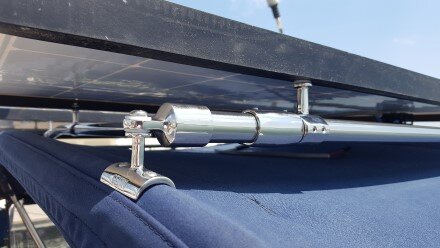
- Mounts on existing canvas frame (post mounts shown here, but our offset mounts work, too).
- Eye ends to hold frame tubing.
- Tubing to form a frame and slip Ts to hold cross bars (see below).
- Split mounts to hold the panels themselves (our sliding mounts also work).
The types and numbers of pieces of hardware required depend on factors like how many solar panels need to be mounted, the size of the existing canvas frame tubing and personal preference. For example, one panel needs four mounts to hold it on the frame (one mount for each corner of each panel), but either sliding or split offset mounts work equally well for this. Larger or more complex jobs may require other items to complete, but this basic structure works well in most cases.
How it’s done
More pictures and FAQs below, too
Getting started
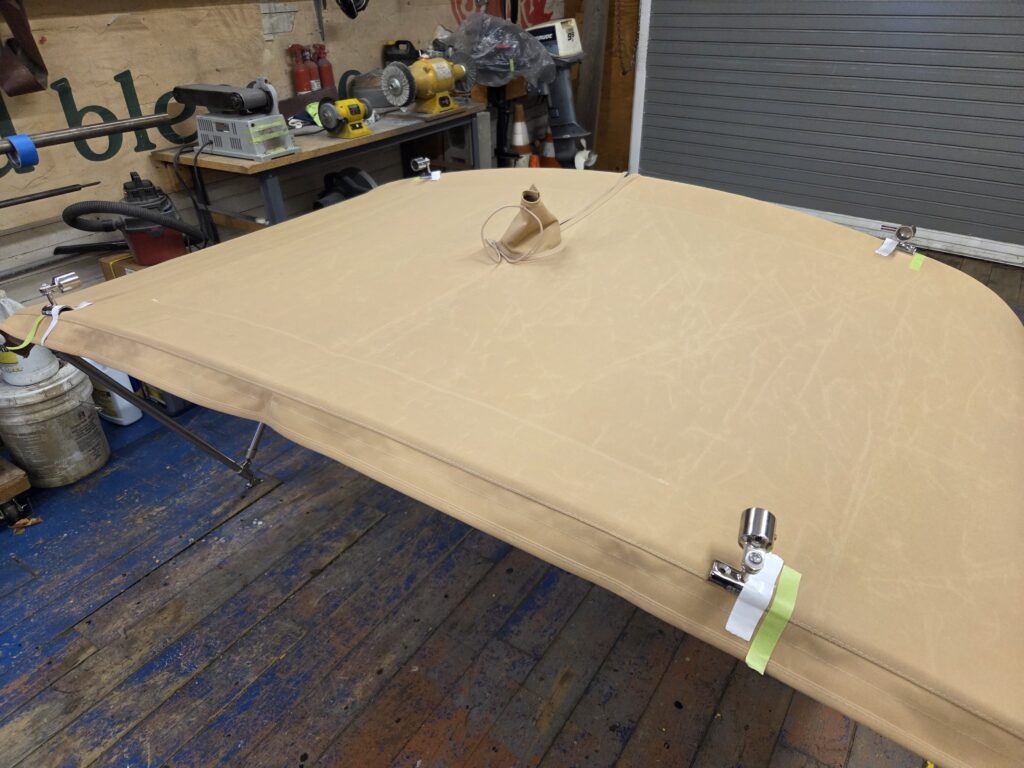
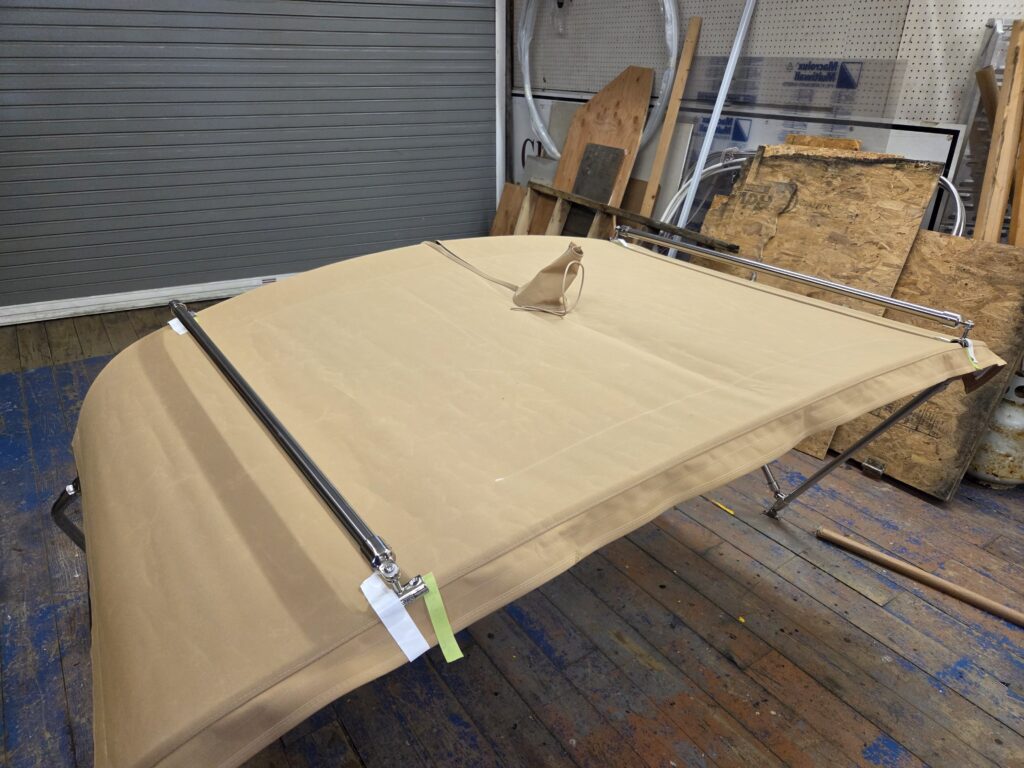
- Step 1: Measure, position and fix chosen rail mounts to existing canvas frame.
- Step 2: Fix an eye end to each rail mount pointing fore/aft.
First two sides of frame
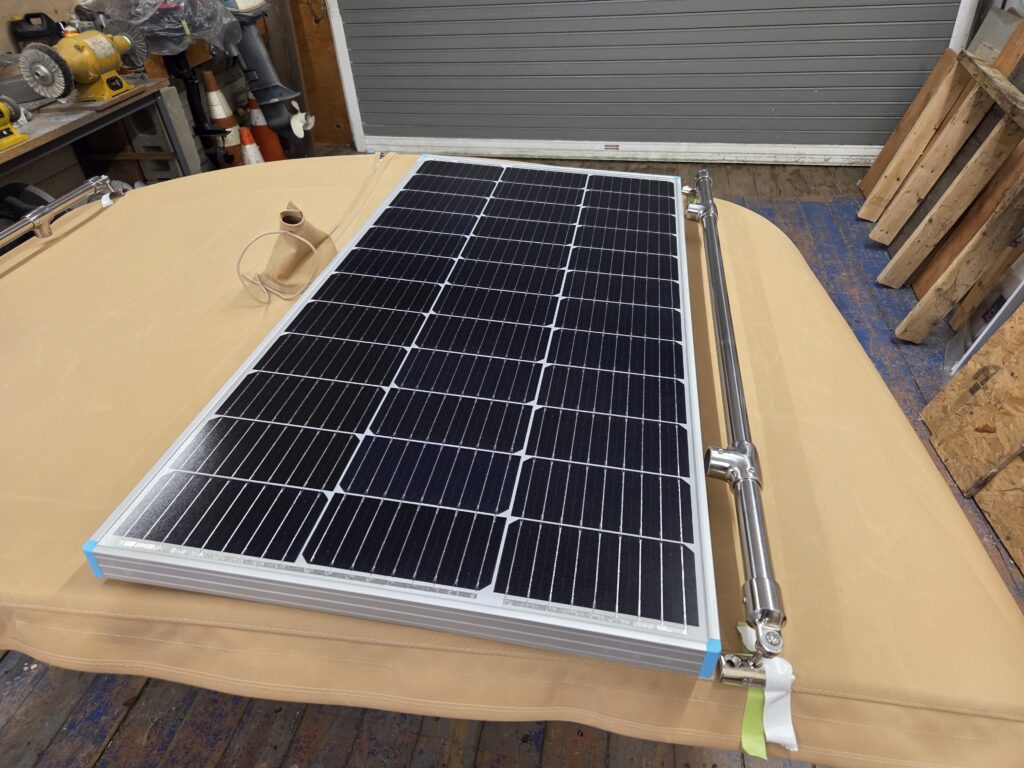
- Step 3: Slide slip Ts on to tubing for the first two sides of the panel frame.
- Step 4: Fix first two sides of solar panel frame running fore/aft.
Finish the panel frame

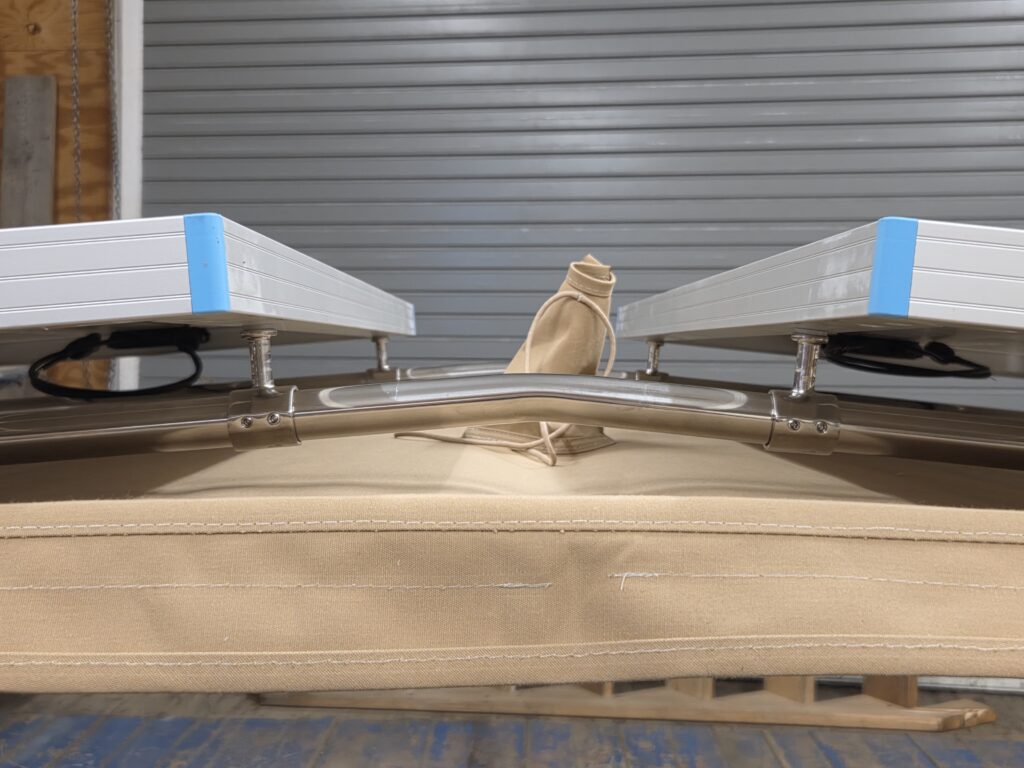
- Step 5: Thread chosen offset mounts on tubing to form the port/starboard sides of the panel frame.
- Step 6: Complete panel frame by fixing tubing port/starboard using the slip Ts.
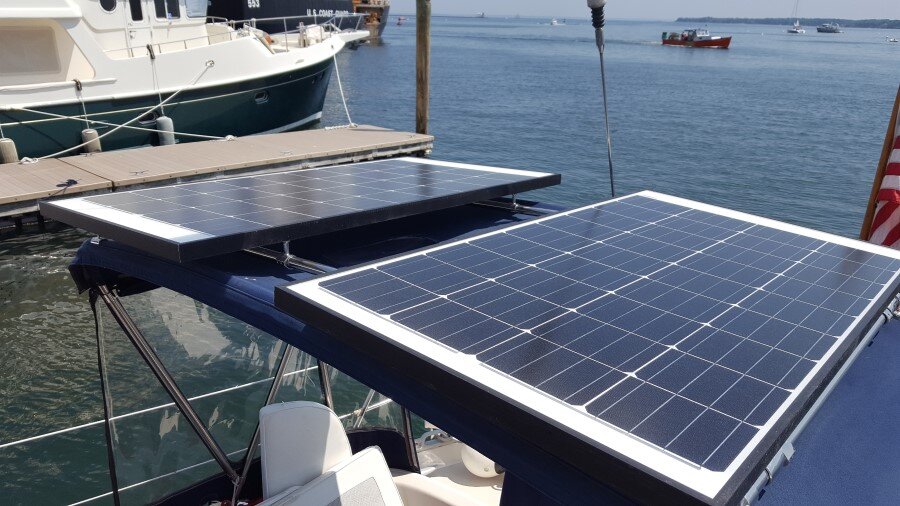
Attach your panels
- Step 7: Attach panels to the offset mounts and it’s good to go. This step is much easier using our offset mounts supplied with hex bolts so a socket wrench can be used to tighten them.
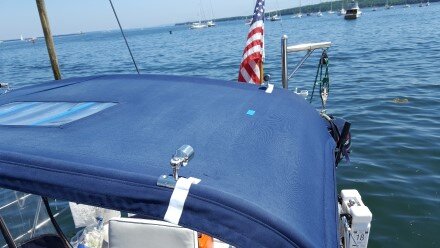
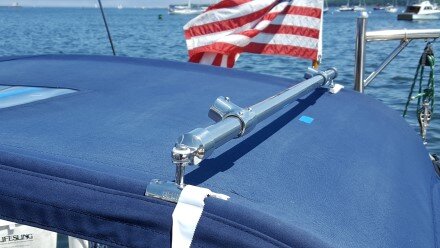
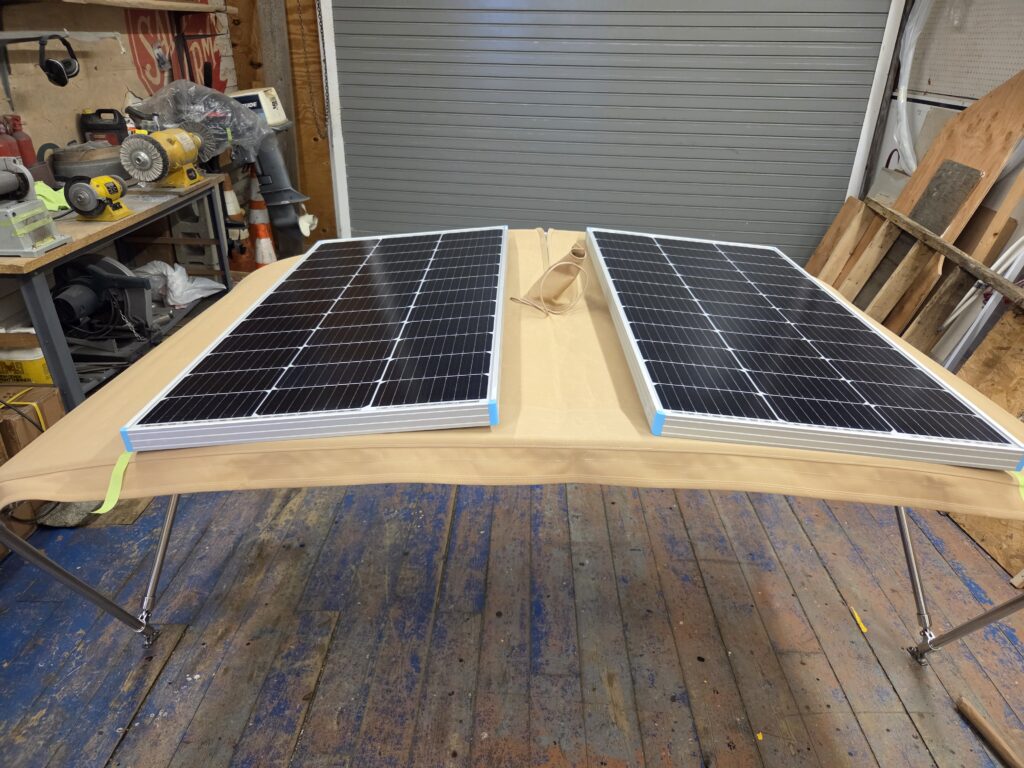
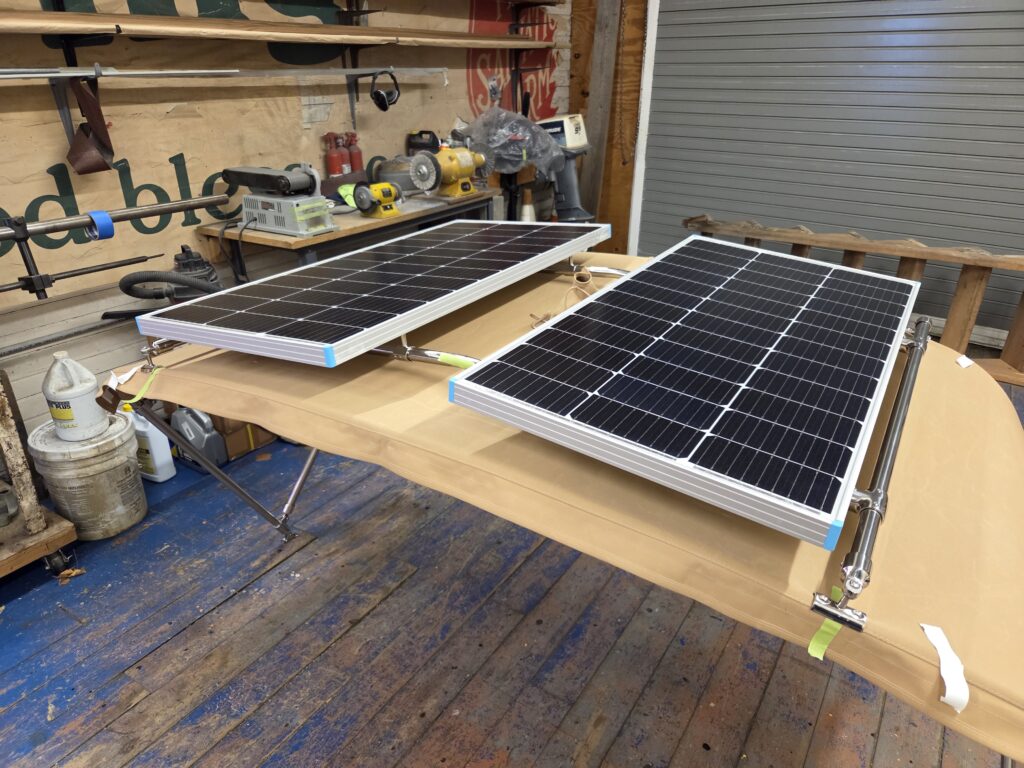
More views from our shop

Frequently asked questions
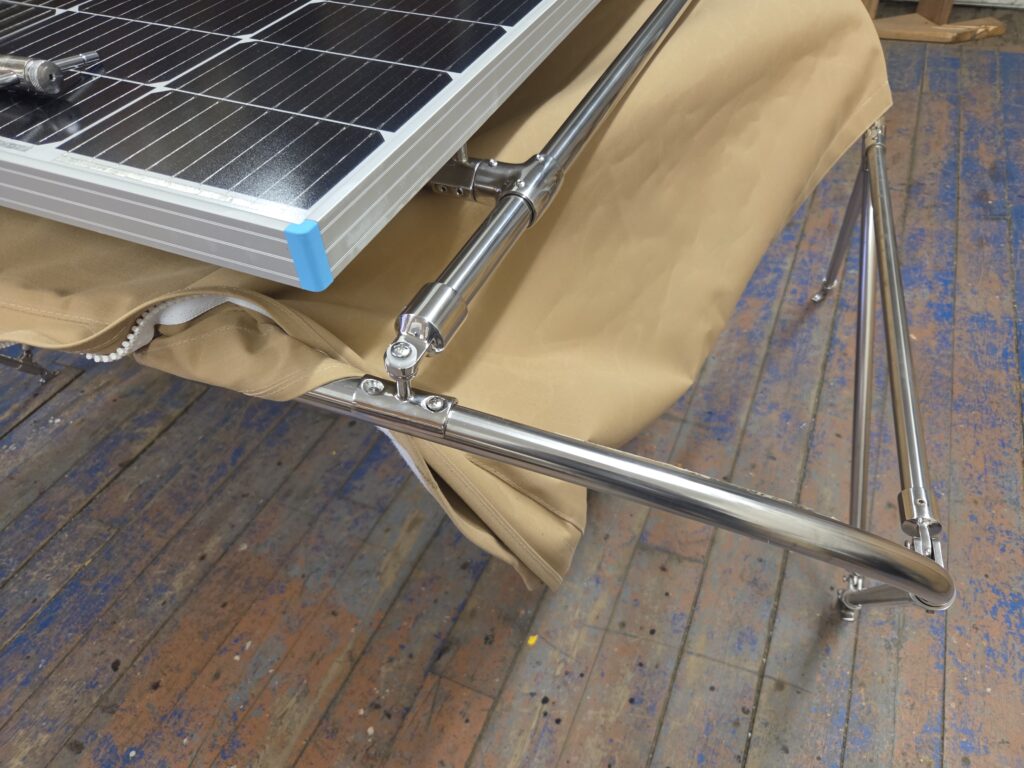
Do I need to throughbolt?
As you can see above, we do not throughbolt when we do this job. We tap with a #10 and use 10 x 24 screws up to 1/4″ long. You can throughbolt if you prefer, but it isn’t necessary.
Can I buy the long pieces of tubing for the frame from you?
We STRONGLY recommend that customers buy the stainless steel tubing for the four sides of the solar panel frame locally. There are several reasons for this including:
– Many jobs will require a crown, or slight bend, in the center of the frame. This mirrors the bend in the existing canvas frame (see steps 5 and 6 above), and we simply cannot do that accurately from a distance.
– The tubing will be long and heavy, and this will be very expensive to ship. The further from beautiful Midcoast Maine we have to ship, the more expensive it will be.
– Having a local shop measure and cut tubing dramatically cuts down on the chance of expensive errors. Once we cut the tubing, it is yours – we will not accept any returns or offer any refunds. For those who need shorter, straight lengths that can be shipped (up to four feet/122cm), the no refunds policy still applies on all cut tubing.
Can I put solar panels on my sailboat using this method?
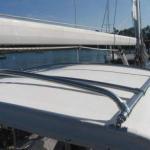
Our sailing customers can add solar panels to canvas frames, too. To ensure the boom clears both panel frame and panels, assume hardware mounting points are at least 1.25″ (32mm) high off the canvas frame tubing. This makes a total height for a frame like the one described above approximately 3″ (76mm) above the existing canvas tubing PLUS the depth of the panels themselves.
Remember: Booms move, and solar panels are fragile (and expensive). Please use caution in measuring to ensure the boom will clear any crown in the solar panel setup with plenty of room to spare. Some clients use a crash bar that is higher than the panels to catch the boom and prevent it hitting the panels should something go amiss (see example in image at right).
Do I have to screw through my canvas?

The images here show concave post mounts screwed directly down on to canvas. Some people prefer to cut a small hole in the canvas and reinforce it with a fabric or leather ring around the hole, then thread the post through the hole, as shown here.
How much lift do post mounts provide?
Our 7/8″ and 1″ sliding side mounts, split side mounts and concave post mounts give approximately 1 1/4″ of lift off the surface of the tubing to which they are attached. The 1 1/4″ sizes are a little SHORTER (yes, for bigger tubing, but shorter posts), giving approximately 1″ lift off framing tubes. Remember: Rigid solar panels need air circulation to be happy, so having space between panels and canvas is necessary for them to function well.
We’re here to help
Don’t hesitate to give us a call on +1 207 596 7705 to talk through your project and get expert advice on what hardware you need. We are always happy to help ensure you get the right parts for the job.
If you are working with a local canvas shop, of course we’re happy to speak with them about your job or to answer any questions they may have. Just ask them to phone us.